반응형
이전 시간에 APACHE2를 설치하였다. 다음으로 mysql 설치하도록하자.
APM의 설치 순서 apache - mysql - php 순으로 설치.
apt install mysql-server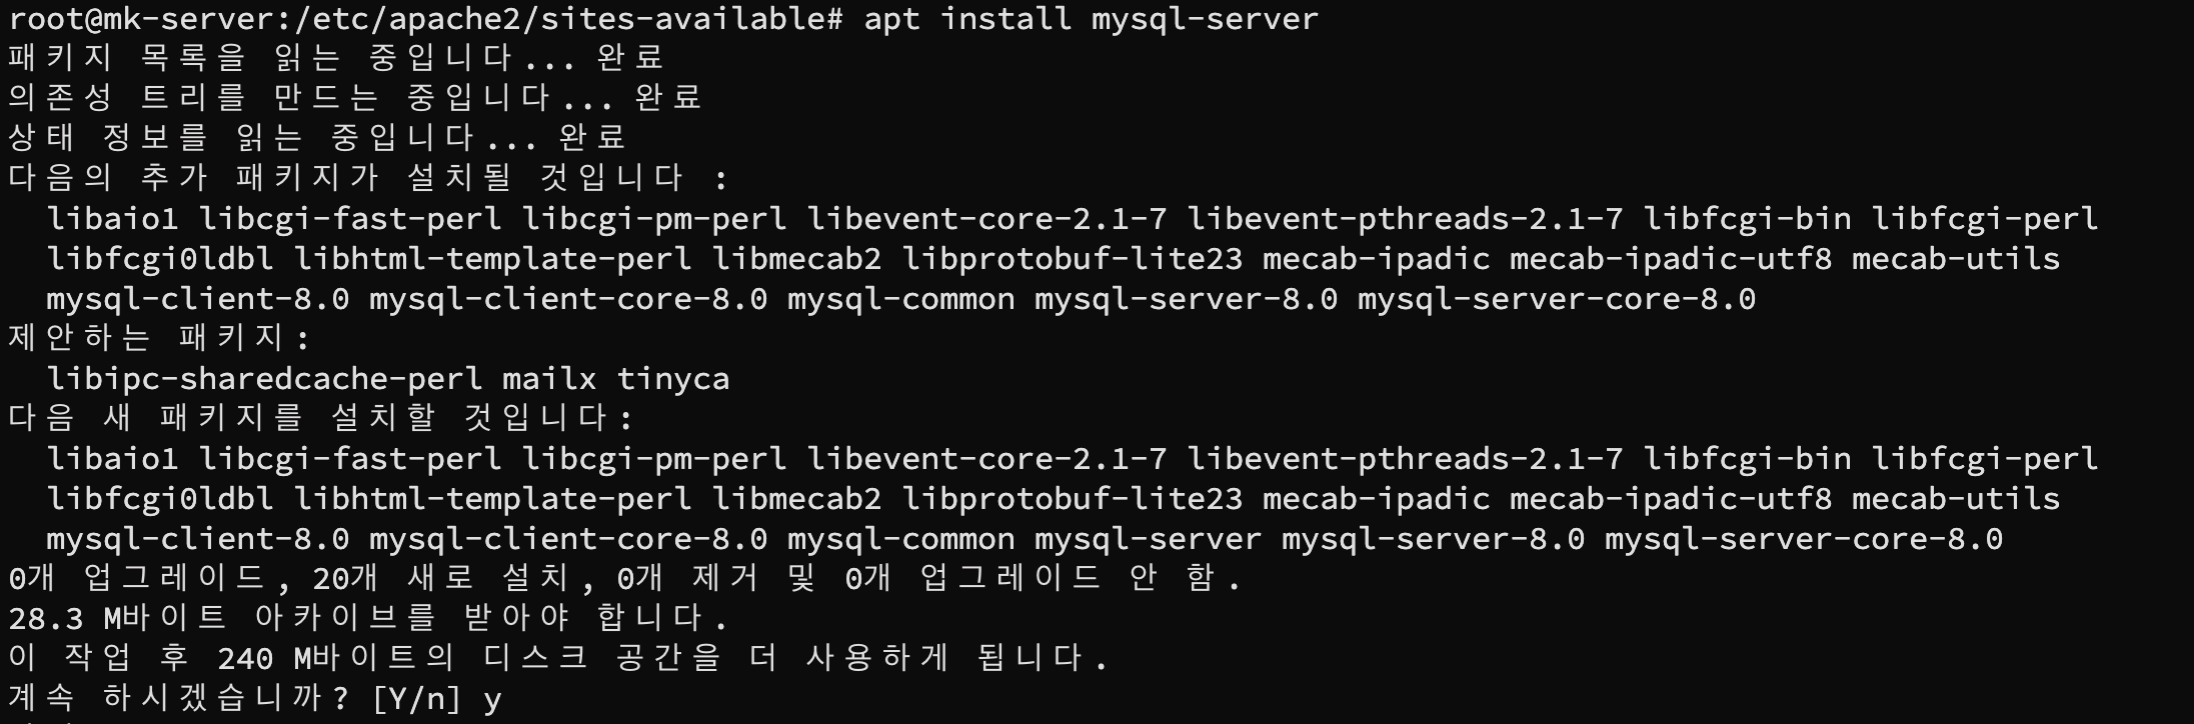
자동으로 설치되고 실행된다.
mysql 보안 설정
//보안설정을 바로 실행하니 root 비번 설정에서 진행이 되지 않았다.
//먼저 root 비밀번호를 설정하고 보안설정을 진행하자.

//mysql 접속
mysql -u root -p

ALTER USER 'root'@'localhost' IDENTIFIED WITH mysql_native_password by '비밀번호';
quit;

//보안 설정 실행
mysql_secure_installation
보안 설정을 실행하면 질문이 나온다.
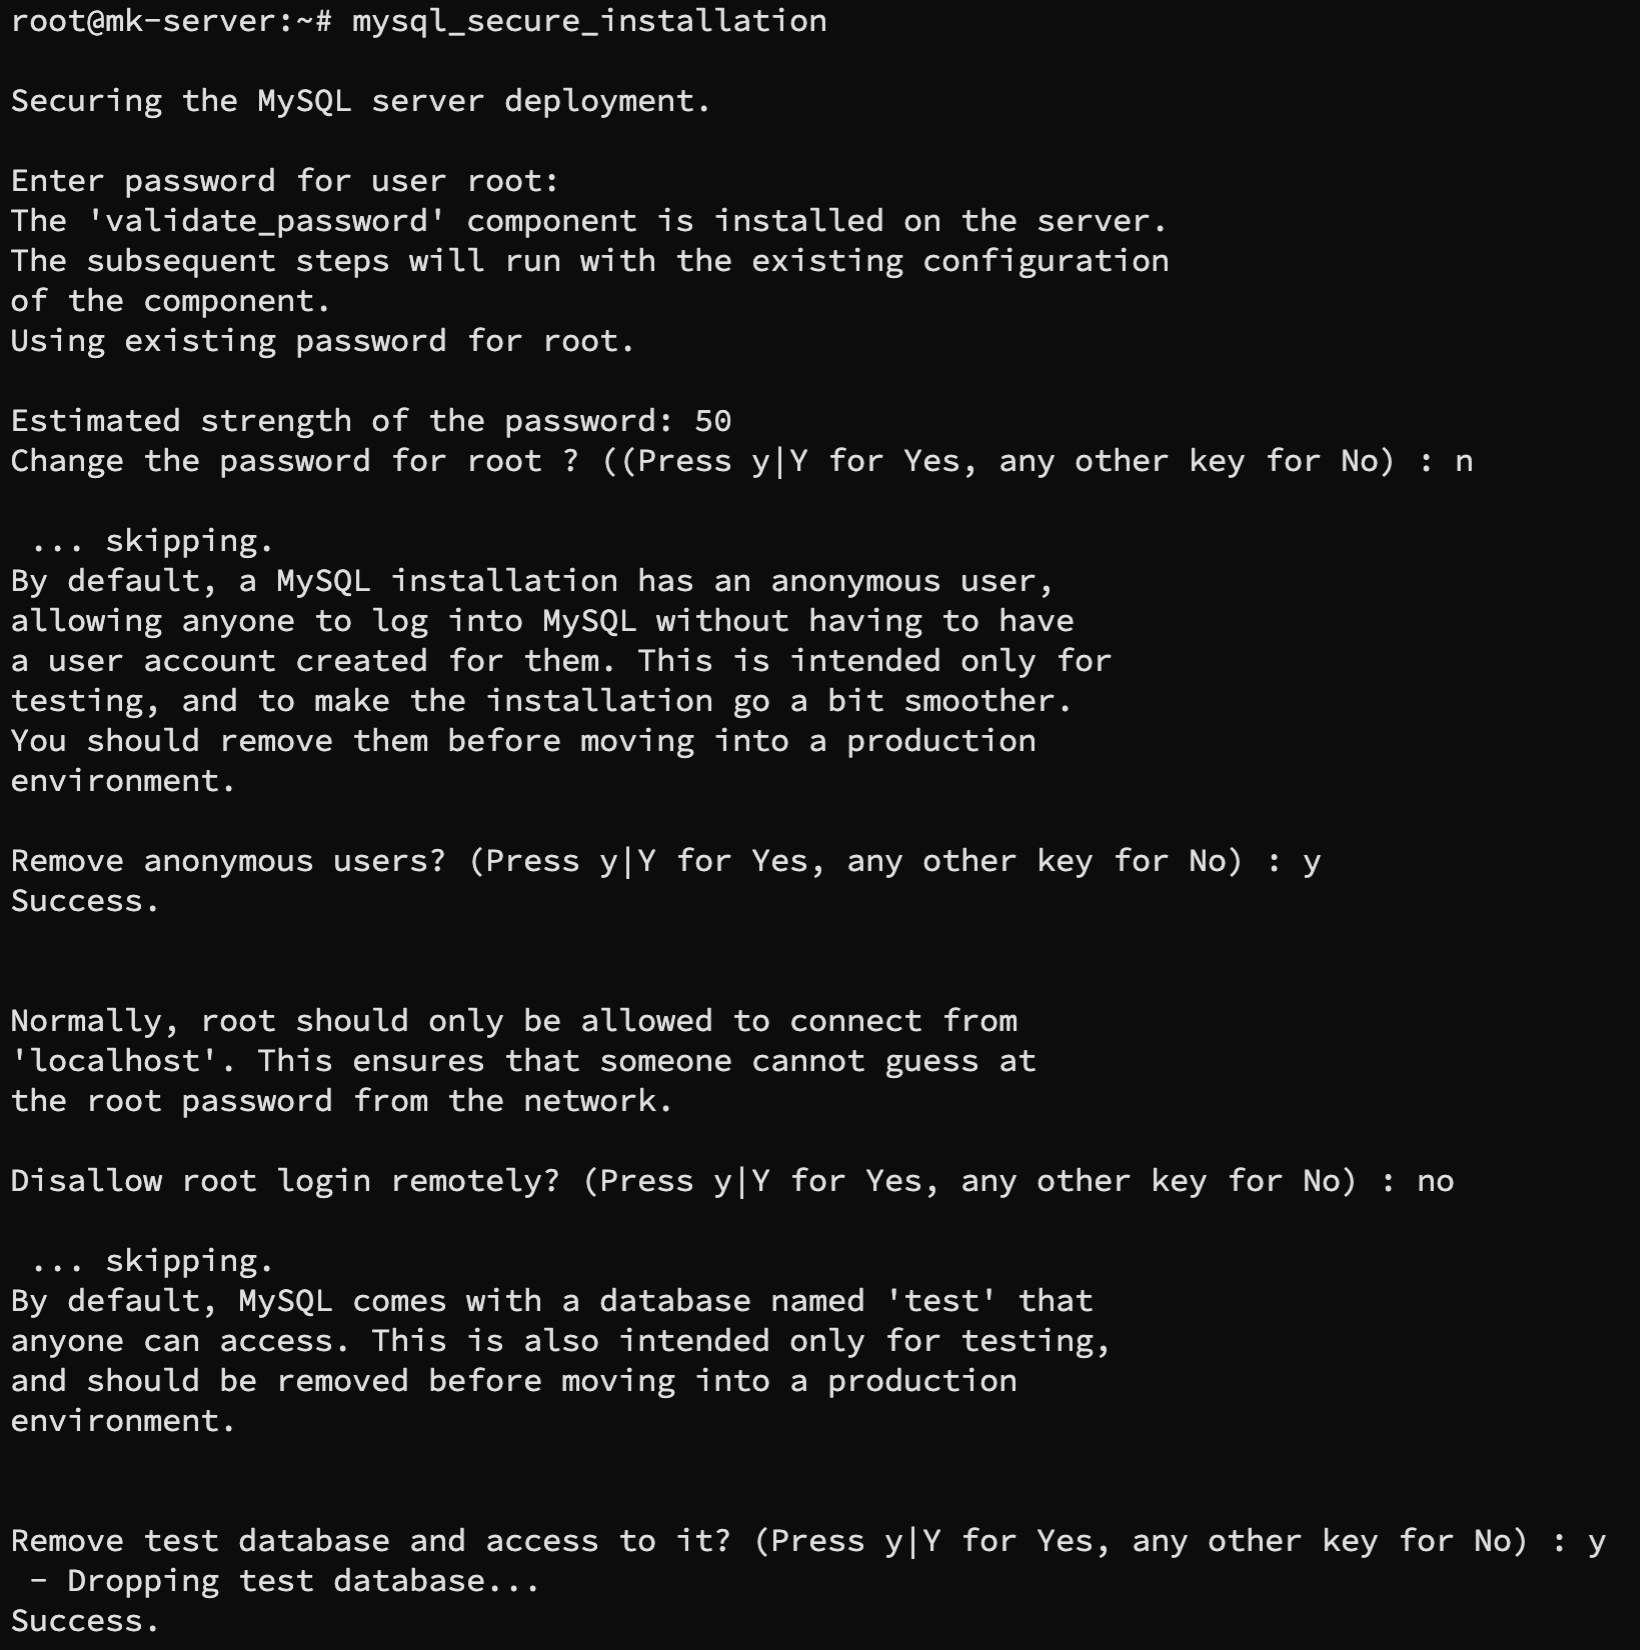
하나씩 살펴보자.
Would you like to setup VALIDATE PASSWORD component?
//비밀번호 보안관련 설정을 하시겠습니까? Yes

LOW    Length >= 8
MEDIUM Length >= 8, numeric, mixed case, and special characters
STRONG Length >= 8, numeric, mixed case, special characters and dictionary
Please enter 0 = LOW, 1 = MEDIUM and 2 = STRONG
//비밀번호 보안 강도 기호에 따라

Change the password for root ? ((Press y|Y for Yes, any other key for No) :
//root 비밀번호를 변경하시겠습니까? 이미 설정했으므로 No

Remove anonymous users? (Press y|Y for Yes, any other key for No) :
//익명의 사용자를 삭제하시겠습니까? Yes

Disallow root login remotely? (Press y|Y for Yes, any other key for No) :
//root 계정의 원격접속을 허용하시겠습니까? No(기호에 따라)

Remove test database and access to it? (Press y|Y for Yes, any other key for No) :
//테스트 데이터베이스를 삭제하시겠습니까? Yes(기호에 따라)

Reload privilege tables now? (Press y|Y for Yes, any other key for No) :
//권한 정보를 다시 로드하시겠습니까? Yes
보안 설정을 마쳤다면 mysql를 재시작하자.
service mysql restart
반응형
'컴퓨터 > 서버구축' 카테고리의 다른 글
| 우분투 Certbot 설치 및 보안 프로토콜(https) SSL 인증서 발급 방법. (0) | 2022.05.13 |
|---|---|
| [서버 구축] 우분투에 APACHE2 설치 및 설정 (0) | 2022.05.12 |
| [서버 구축] 우분투 Ubuntu에 FTP 서버 설치하기. (0) | 2022.05.05 |
| [서버 구축] 우분투 Ubuntu에 ssh 설치하기 (0) | 2022.05.05 |
| 우분투 Ubuntu 설치하기. (0) | 2022.05.05 |


댓글